Managing your home’s electrical system can sometimes feel like a mysterious maze, especially when you’re trying to figure out which switch controls what. From flickering lights to tripping breakers, the frustration often stems from a lack of organization within your electrical panel. Knowing exactly what each circuit breaker in your single phase panel controls is not just about convenience; it’s a crucial aspect of home safety and efficient electrical management.
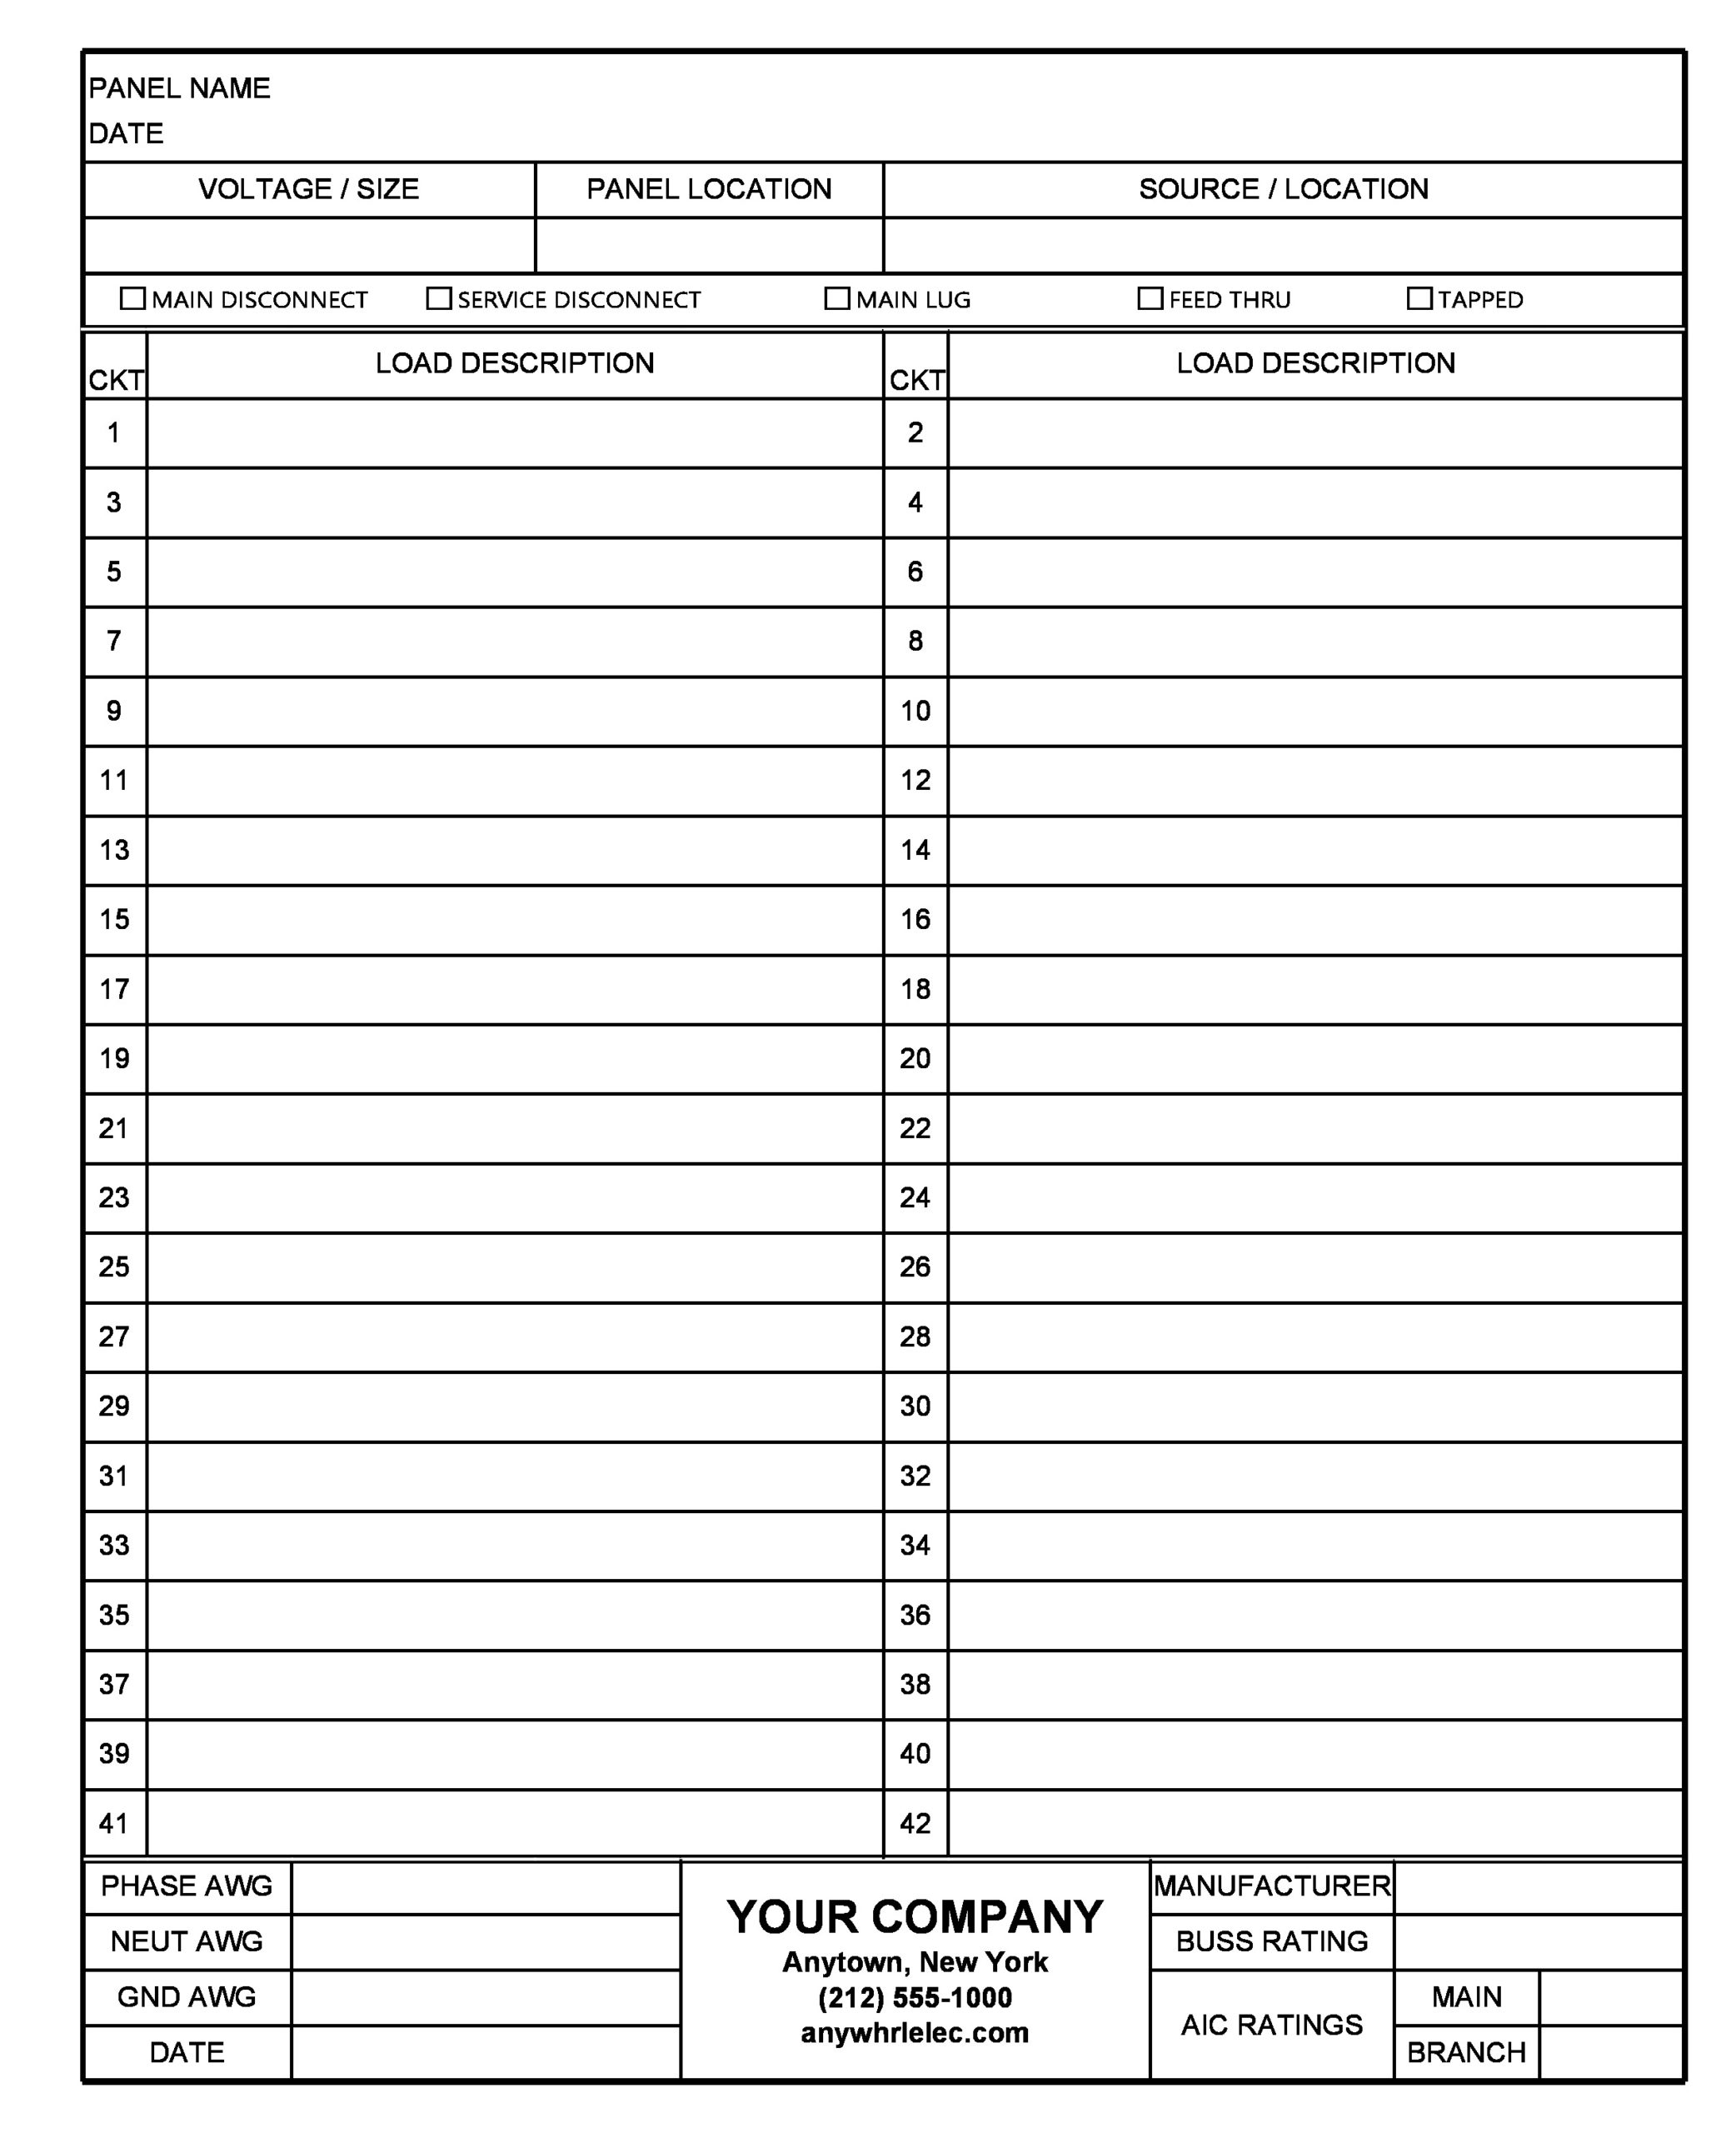
That’s where a clear, well-structured electrical panel schedule comes into play. It acts as a comprehensive map for your entire electrical system, providing vital information at a glance. For homeowners and small business owners dealing with common single phase setups, having an effective single phase electrical panel schedule template can transform a daunting task into a manageable one, ensuring you’re always in control of your power.
Why a Single Phase Electrical Panel Schedule is Your Best Friend
An electrical panel schedule is more than just a piece of paper; it’s a living document that outlines every circuit in your electrical service panel. For single phase systems, which are typical in most residential and light commercial buildings, this schedule details which breaker controls which specific load or area. Imagine trying to troubleshoot an issue or needing to turn off power to a specific room for renovations without knowing which breaker corresponds to that area – it can be incredibly time-consuming and even dangerous.
The primary benefit of a meticulously kept schedule is undoubtedly safety. In an emergency, such as a fire or a flood, knowing precisely how to cut power to a specific area quickly can prevent further damage or injury. Beyond emergencies, it simplifies routine maintenance, allows for easier upgrades, and helps ensure that your electrical system is not overloaded. Electricians rely on these schedules too, as it gives them an immediate understanding of your home’s wiring without extensive investigation.
Furthermore, a detailed schedule helps you understand your power consumption patterns. By listing the loads for each circuit, you can identify energy hogs or balance the load distribution across your panel, preventing nuisance trips and extending the life of your electrical components. It’s an invaluable tool for both the do-it-yourself homeowner and professional electricians alike.
Key Information to Include
- Circuit Number: This refers to the physical position of the breaker within the panel.
- Breaker Size: Indicate the amperage rating of the breaker (e.g., 15A, 20A, 30A).
- Voltage: Typically 120V for standard circuits and 240V for larger appliances in a single phase system.
- Load Description: A clear, concise description of what the circuit powers (e.g., “Kitchen Outlets,” “Master Bedroom Lights,” “Water Heater”).
- Wire Gauge: Note the gauge of the wire connected to the breaker, important for future modifications.
- Notes: Any additional information, such as specific outlets controlled, appliance details, or unusual wiring.
Crafting Your Own Single Phase Electrical Panel Schedule Template
Creating your own electrical panel schedule involves a bit of detective work, but it’s a worthwhile investment of your time. The process typically starts by identifying each circuit. The safest and most effective way to do this is to have a helper. You’ll be at the panel, flipping breakers one by one, while your helper calls out what just turned off or on in various parts of the home. Be methodical, starting from the top left of your panel and working your way down.
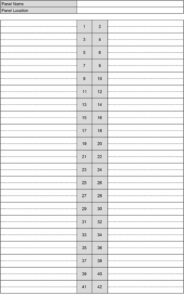
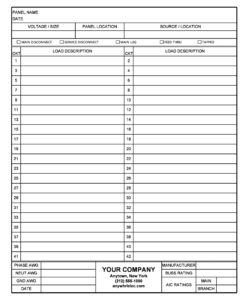
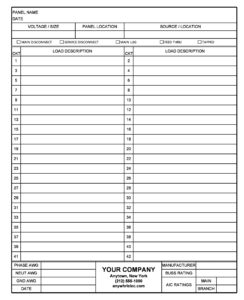
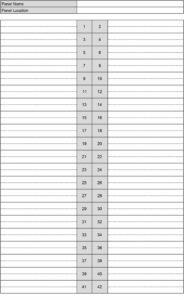
When you’re mapping out your circuits, pay close attention to any inconsistencies. Sometimes a single circuit might power outlets in multiple rooms, or you might find unexpected items on a circuit. Document everything clearly. While you could draw this out by hand, utilizing a dedicated single phase electrical panel schedule template, whether digital or printable, can make the process much more organized and professional-looking. These templates often come with pre-formatted columns and rows, guiding you on what information to record.
Accuracy is paramount. Double-check your findings and consider adding detail beyond just “lights.” For instance, specify “Dining Room Chandelier” or “Guest Bathroom GFCI.” This level of detail will prove invaluable down the line. It’s also a good idea to identify any 240V circuits that power major appliances like an electric stove, dryer, or air conditioning unit, as these will occupy two breaker slots in your panel and should be clearly marked.
Once your schedule is complete, print it out and store it in a safe, easily accessible place near your electrical panel. Many homeowners even laminate it for durability. Remember, your electrical system might evolve over time with renovations or new appliance installations. It is essential to update your schedule whenever changes are made. A current, accurate schedule ensures that your initial hard work continues to pay dividends in terms of safety and convenience for years to come.